
They may not squirm or make weird faces at you, but don’t let that fool you… paintings are among the most deceptively simple subjects to photograph. They’re an analog art form in an increasingly digital world, and perfectly translating them from physical to digital requires a few extra steps.
You’ll need the following items in order to capture paintings well: a color checker, a camera (of course), a lower zoom lens, an easel, a tripod, gloves, a lighting box and, last but certainly not least, patience! Perfecting the small details of paintings is a process, but never fear, once you have them mastered, you’ll be golden.
1. Basics
The first thing you’ll need is your camera and a lens that can accommodate the painting while not causing any distortion. I recommend any lens over 35mm but less than 85mm. Overall, 55mm is preferable. This will keep the subject true to size and frame it perfectly while preventing compression so it looks like a picture you’d see with your own eyes.
2. Positioning
You’ll also need to keep the painting level and parallel to the camera. To do this, you’ll need an easel to place it on, or if you don’t have one of those, you can use a clamp. However, the clamp needs to be a light one so as to not harm the painting. Once you have the painting situated, you’ll need an elevated surface to place the back leg of the easel on to ensure that the painting is parallel to the camera, and weigh it down with something like a sandbag to make sure the painting isn’t going anywhere.
The camera setup here is equally as important. You’ll want your camera stable and able to take repeat shots in the exact same spot, so using a tripod is vital. If you don’t have one, I recommend grabbing one as soon as possible, and the Peak Design Travel Tripod is a great option.
Also, to make sure that your painting is actually parallel to your camera, take a measuring tape and measure to the center of the painting. Next, take the measuring tape again and measure from the ground to the center of your lens on the tripod. If these measurements are the same, the camera and paintings are legitimately parallel.
* Bonus Tip: Orient your painting in a landscape position, even if it was originally vertical! You can always rotate it while editing, and landscape allows you to fill the frame adequately.
3. Extra Gear
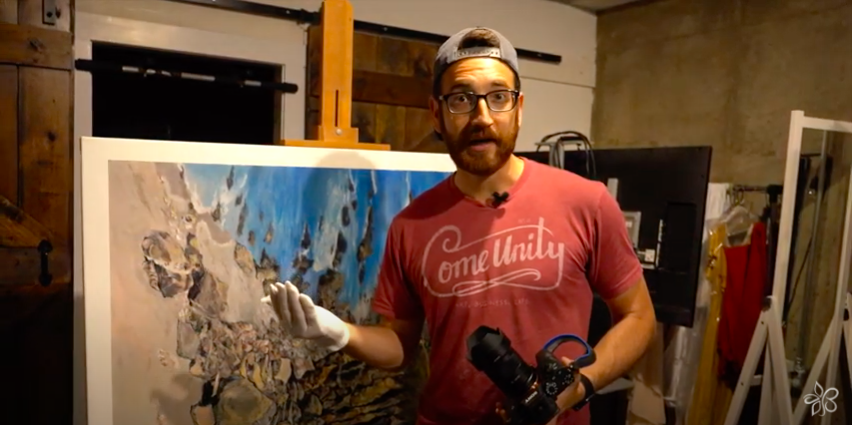
Cotton gloves are always good to wear, because they keep the oils from your hand from tarnishing the painting. It’s vital to keep the painting in its original conditions, especially if it belongs to someone else.
4. Lighting
Lighting is one of the most crucial elements of product photography. Natural light, while great for other subjects, is not what you want with paintings because small imperfections can cause shadowing; therefore, as much natural lighting as possible needs to be eliminated. Instead, use a lighting box, also in a landscape orientation, angled diagonally with the direct light slightly behind the painting. This will prevent glare in your picture.
5. Color
Color is one of the final elements you’ll need to adjust. I recommend using a color checker passport and adjusting the color balance once you determine it from the passport. You can learn more about how to use a color checker here!
6. Camera Settings
Having the correct camera settings is likely the most important element of the entire process, so you want to optimize them for the clearest, most color-accurate photo possible. Set your camera to 5600 Kelvin and your aperture to F2.8. You also want the lowest possible shutter speed possible, around ISO 400. Once these are all correctly adjusted, you’re good to go!
Conclusion
Finally, take a picture! And another. And another. If you followed this process correctly, you should have a great picture of a painting in your viewfinder. If you’re looking for more in-depth instruction on photographing paintings, you can follow along as I show you step by step how I implement this process in real life.
Click the image below to watch the video!

Be the first to comment